Zimbra mail Configuration in android mobile application
Zimbra Mobile setup and installation For android
A.Open in your android and go on the Google application showing Gmail Icon click on this
 |
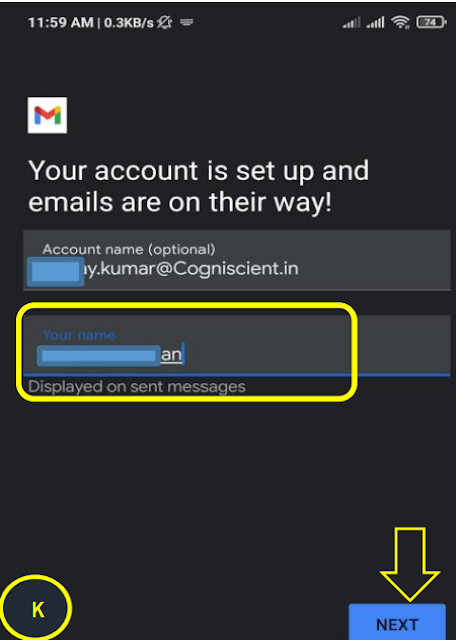
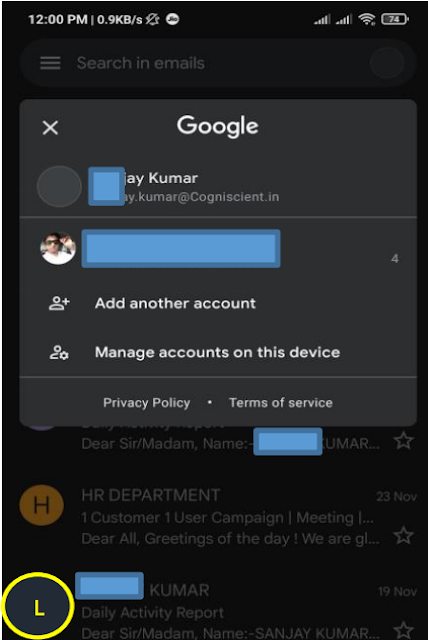
| Image(A) |
 |
| Image(B) |
C. Choose other option for business login like Demo@zimbra.in
D. Enter your business email(User@zimbra.in) account and You need to enter the same
Zimbra mail password which is used by you in Zimbra login then click on next ....see image(D)
E. Select type of account Personal (IMAP). See image(E)

G. Click on advance to check the certificate.
H. It has Certificate information Check and clicks on Proceed anyway...
I. Incoming Server Setting
- User Name enter your company mail id like user@cogniscient.in
- Password This is the password that's you use for the Zimbra login password
- SMTP Server you need to enter by default Cogniscient. in need to enter mail. cogniscient.in
- Port Enter port here 587
- STARTTLS (Accept all Certificates) Select this one.
- Inbox checking frequency
- Data synchronization
- Notify me when the email arrives
- Sync Contact for this account
- Automatically download attachments when connected to wifi


0 Comments